

Open the Support page
In the console sidebar, under Account, click Support. You need to be signed in to open this page. The Support link at the bottom of the sign-in page also asks you to sign in first. If you can’t sign in, use the chat bubble on the sign-in page, or email support@sinarcloud.com and include the email address of the Google account you use for the console. Contact support buttons in the console also bring you here. You find them on an order’s page, on a server’s page when the server has a problem, and in dialogs for server actions that aren’t available yet.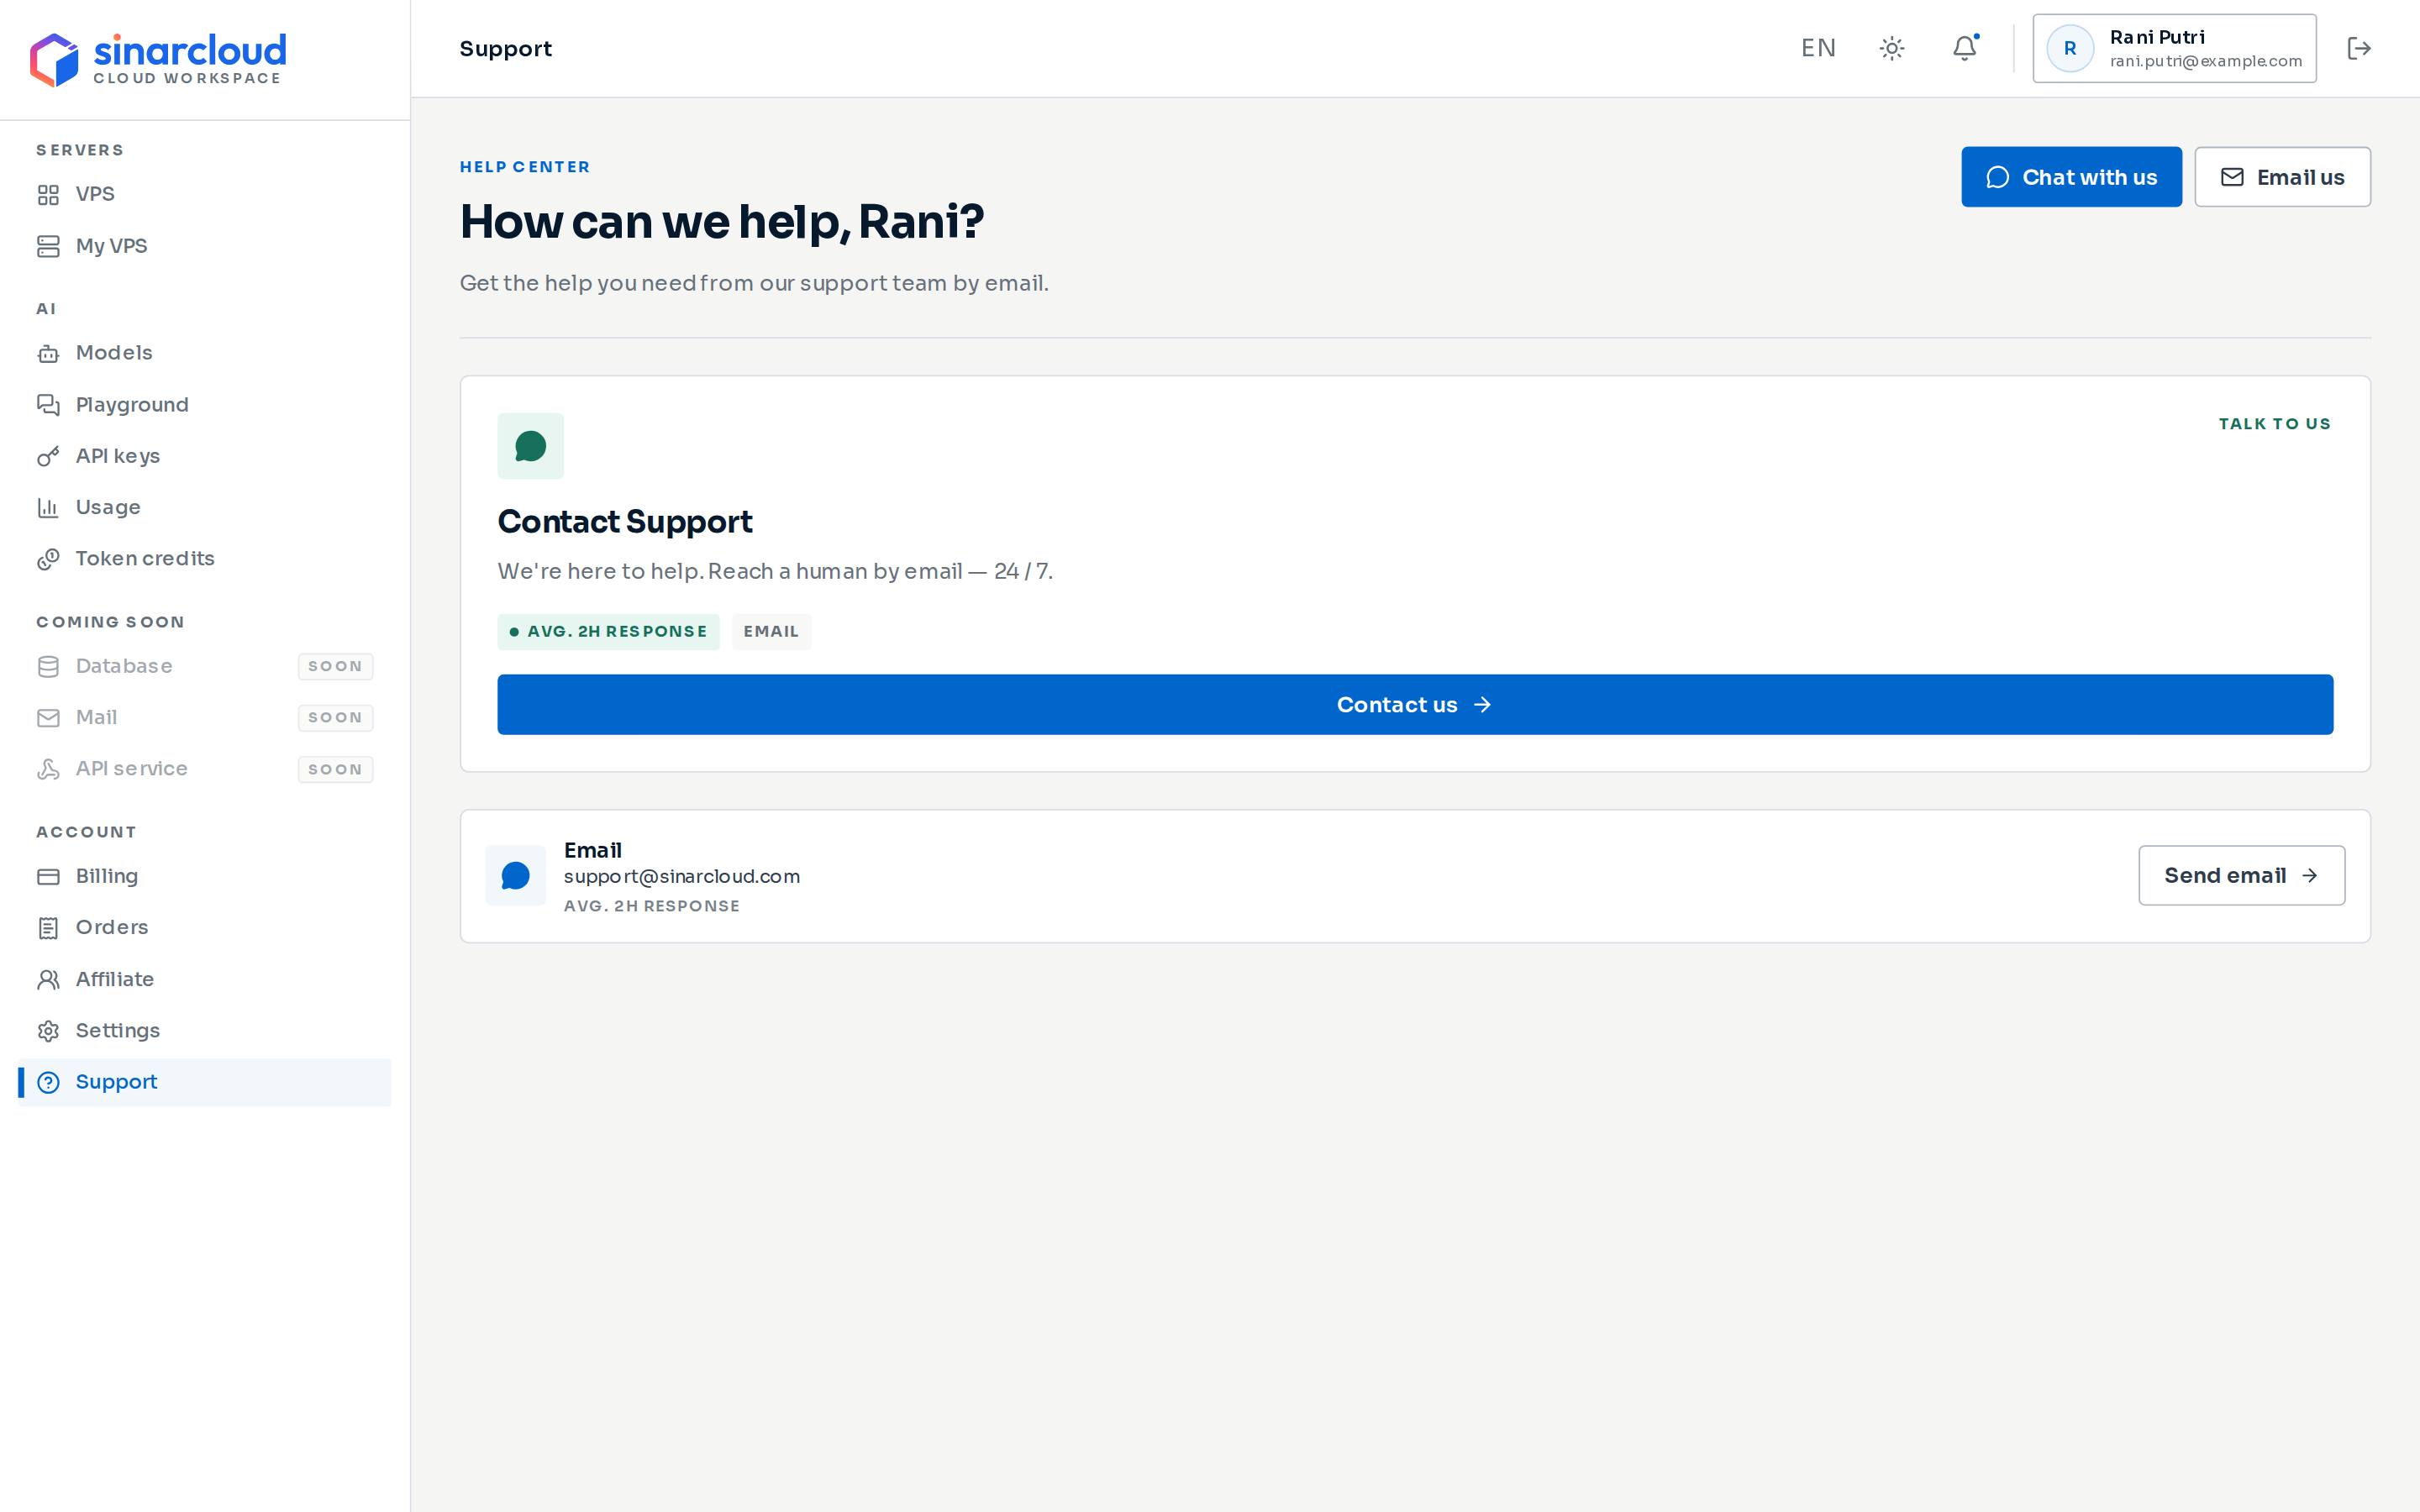
The Support page with the Contact Support card and the Email row
Contact the support team
You can reach the support team in three ways:- Chat live: click Chat with us at the top of the Support page to open a live chat. If you’re signed in, the chat starts with your name and email address filled in.
- Write the email yourself: send it to support@sinarcloud.com. You can also click Send email on the Email row of the Support page. Your email app opens a new message to the address shown there.
- Draft it in the console first: click Email us at the top of the Support page, or Contact us on the Contact Support card. The form helps you include the right details, then opens the message in your email app. See Draft a support request.
What to include in your request
Specific details help the support team find your account, server, order, or payment quickly, whether you chat or email. Include those that apply:Find the request ID of an AI request
Every AI API response includes anX-Request-Id header, including error responses. It matches the Request ID that the console shows. With cURL, add -i to print the response headers:
cURL
https://ai.sinarcloud.com/v1. To call another model, use its alias from Models and pricing.
For a recent charged request, you can also open Usage in the AI section, select the Log tab, and click Show details under Recent requests to see the Request ID. The list shows only your eight most recent charged requests for the selected date range, model, and API key. For older or failed requests, you need the X-Request-Id header, so log it in your application.
Draft a support request
The support request form helps you write a complete request, then hands it to your email app.1
Open the form
Click Email us at the top of the Support page, or click Contact us on the Contact Support card. The New support request dialog opens.
2
Describe the problem
Fill in the fields:
- Subject: a short summary, up to 200 characters. Required.
- Category: Technical, Billing, Account, or General. The default is Technical.
- Priority: Low, Normal, High, or Urgent. The default is Normal.
- Message: what happened, what you expected, and what you tried. Use 10 to 5,000 characters. Required.
3
Review the request
Click Preview request. On the Review your request screen, check your text and the support email address shown under the subject. Click Edit draft to make changes.
4
Send it from your email app
Click Open email draft. Your email app opens a new message to that address with your subject filled in. The message body starts with the category and priority, followed by your message. Send it from your email app.
Follow up on your request
The console doesn’t track support requests. To follow up, reply in the same email thread, so the support team sees your earlier messages and details.Related pages
Troubleshooting
Fixes for top-ups, orders, connecting, server expiry, and AI API errors.
Orders
Track server orders and find your order ID.
Manage a VPS
Find your server’s details and run common actions.
Usage and spending
Review AI requests, request IDs, and costs.