

Before you start
- Get an API key and a model alias as described in Before you connect. The base URL is
https://ai.sinarcloud.com/v1.
Install Continue
Ctrl+Shift+X (Cmd+Shift+X on macOS). Search for Continue.In the results, find Continue - open-source AI code agent, published by Continue, and click Install.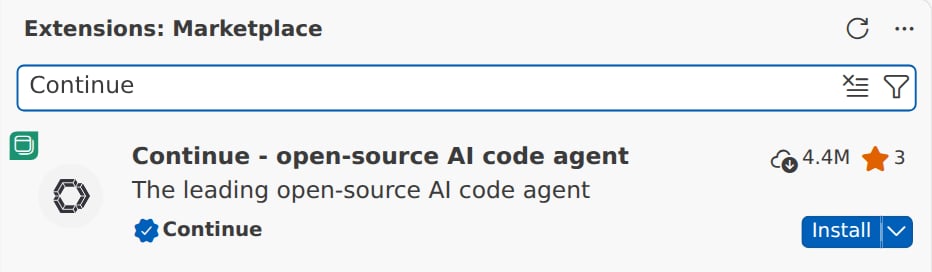
Continue in the Extensions view, ready to install
Open the Configs page
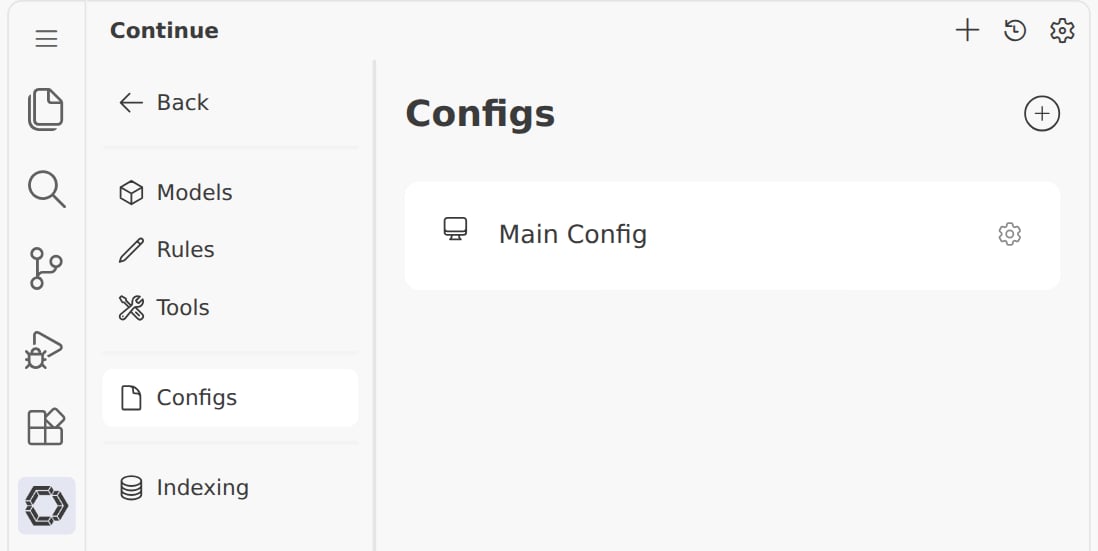
Continue's settings, open on Configs
Open config.yaml
config.yaml, in the editor. In a new install, the file doesn’t list any models yet: it ends with models: [].
The gear next to Main Config opens config.yaml
.continue in your home folder: ~/.continue on macOS and Linux, or %USERPROFILE%\.continue on Windows.Save your API key in a .env file
.continue folder, create a file named .env and open it in VS Code. Paste this line into it, replace paste-your-api-key with your API key, and save the file:config.yaml.
The .env file next to config.yaml
Add the SinarCloud model
config.yaml. Replace its contents with the following. If the file already lists models you want to keep, add the new entry under models instead.config.yaml again and reads your .env file when you save, so you don’t need to restart VS Code.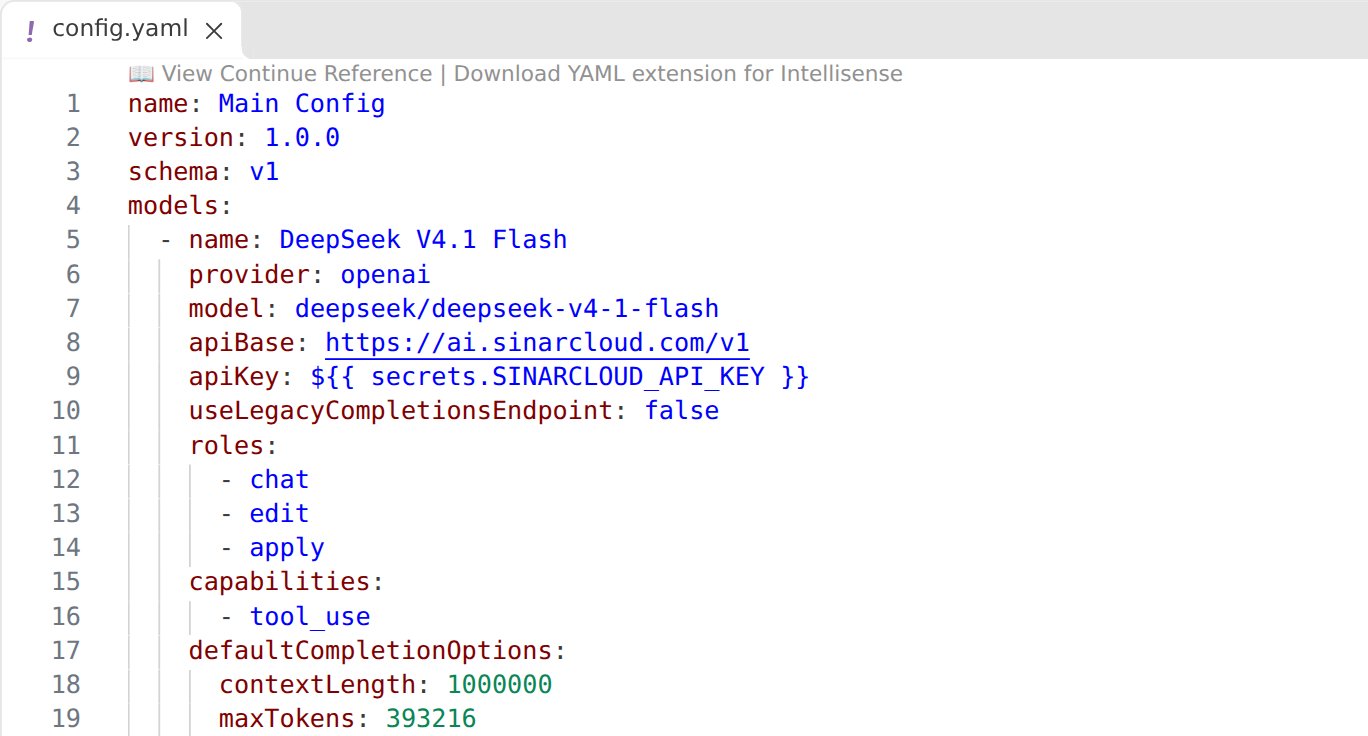
config.yaml with the SinarCloud model and its base URL
provider: openaiwithapiBasemakes Continue send its requests tohttps://ai.sinarcloud.com/v1in the OpenAI Chat Completions format.${{ secrets.SINARCLOUD_API_KEY }}reads your API key from~/.continue/.env.modelis the model alias from the Models page.nameis the name Continue shows in its model menu.useLegacyCompletionsEndpoint: falsekeeps every request on Chat Completions. Without it, Edit (Ctrl+I, or Cmd+I on macOS) sends its requests to/completions, which SinarCloud doesn’t support.roleslists what Continue uses the model for:chatfor Chat, Plan and Agent mode,editfor Edit, andapplyfor applying code from the chat to your files.tool_useundercapabilitiesmakes Continue send its tools, such as reading files and running commands, with each Agent request. Without it, Continue describes the tools in the prompt text instead.contextLengthandmaxTokensare the model’s Context window (tokens) and Maximum output (tokens) from the Models page. WithoutmaxTokens, Continue asks for replies of at most 4,096 tokens. SinarCloud refuses amaxTokensabove the model’s maximum.
name and the two limits with its own. The model must list Chat completions, Tool use and Streaming under Model capabilities.Go back to the chat and check the model
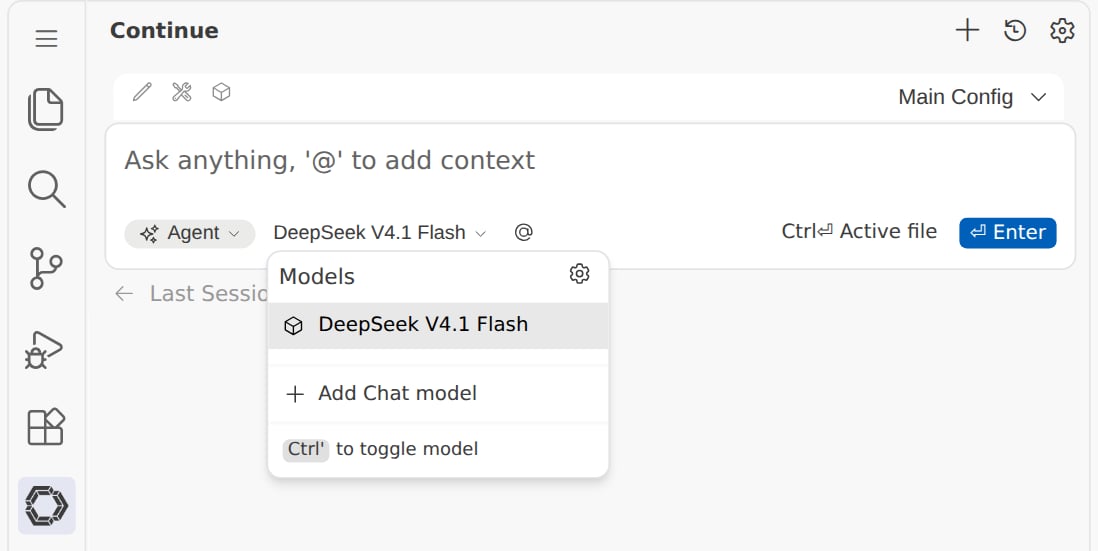
DeepSeek V4.1 Flash in Continue's model menu
Choose Agent mode
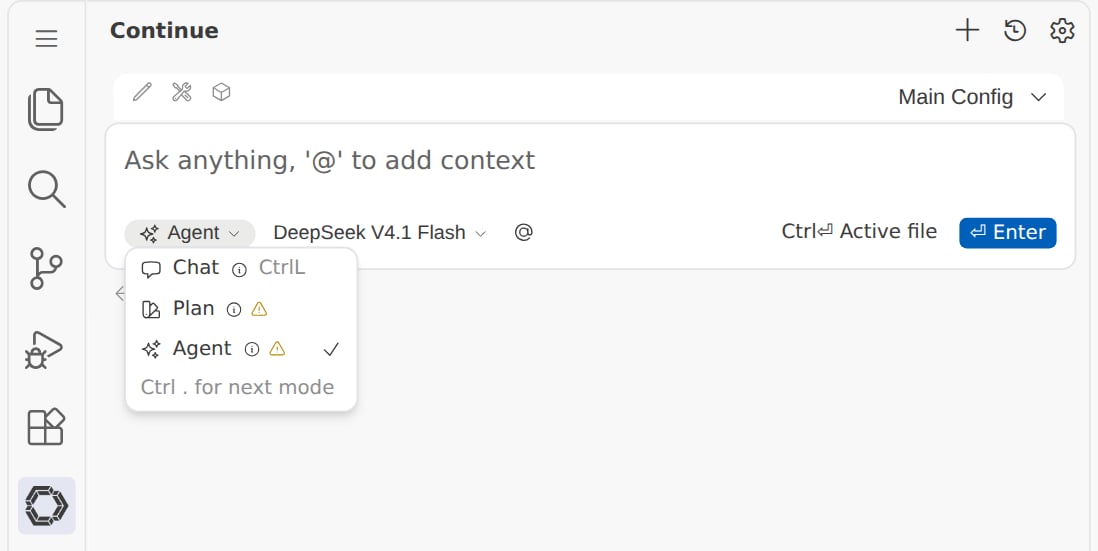
Agent selected in Continue's mode menu
Send a prompt
Add a GET /products/:id route to src/server.js, and press Enter.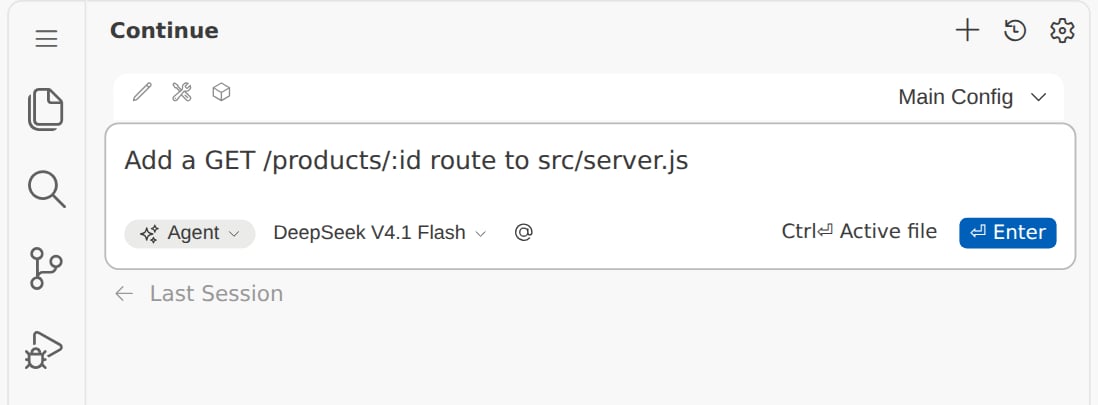
A task in the chat box, ready to send in Agent mode
Find the requests in Usage
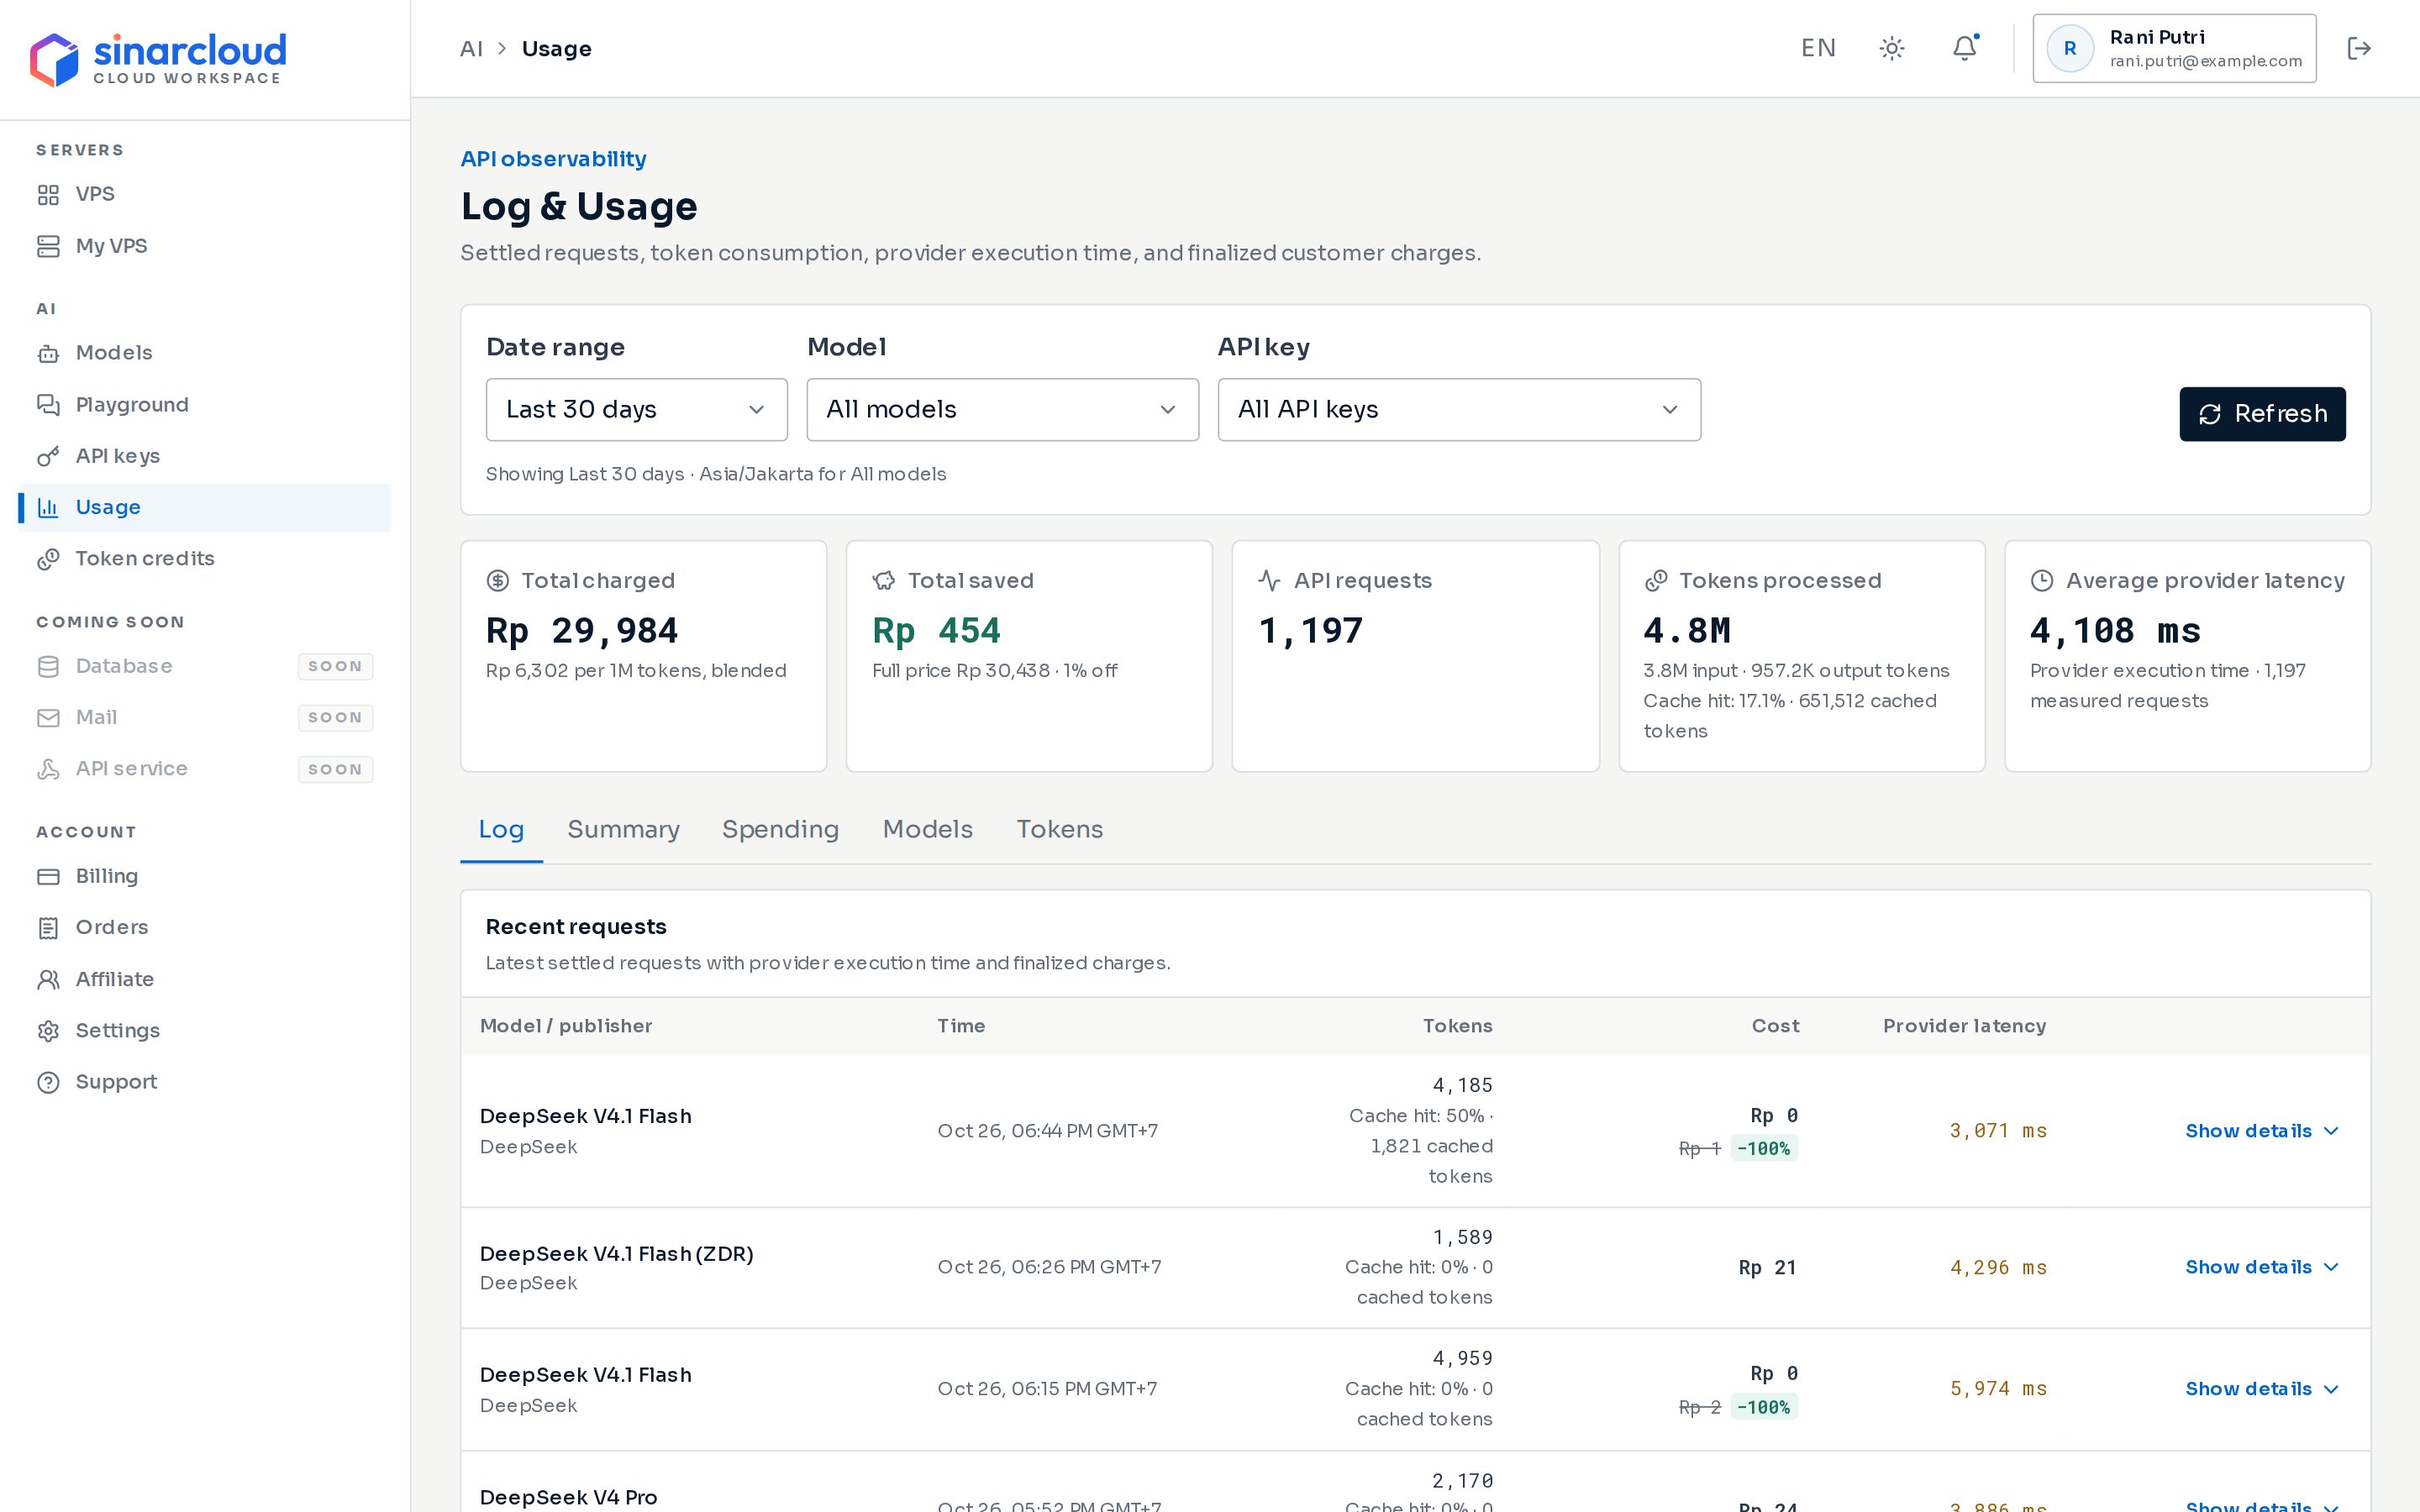
The Usage page, with the API key filter at the top
Settings worth changing
Session titles
After your first prompt in a session, Continue sends a second request to name the session. To skip it, click the gear icon at the top of the Continue panel, click Settings, and turn off Enable Session Titles.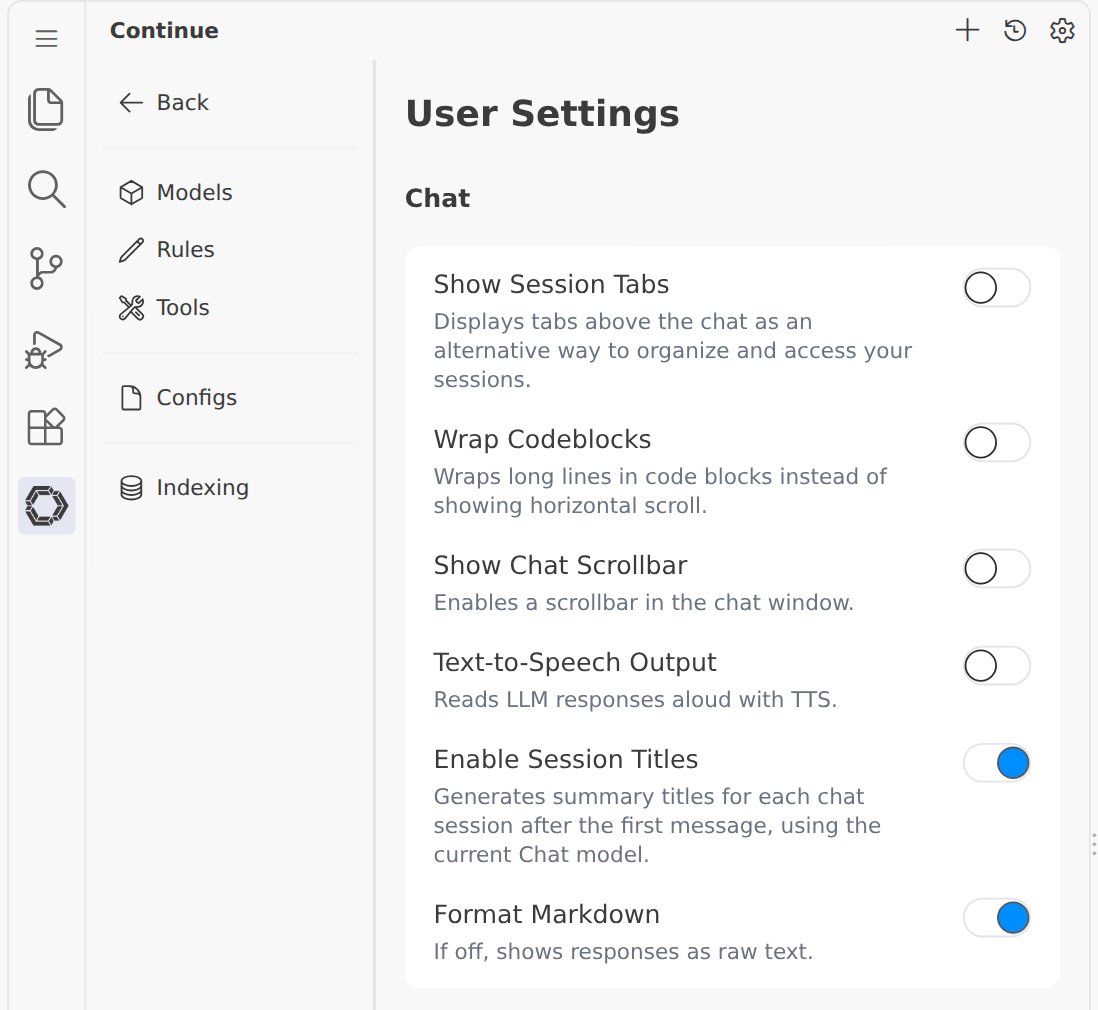
Enable Session Titles in Continue's settings
Autocomplete
The config above doesn’t use the model for autocomplete, so Continue sends no requests while you type. If you addautocomplete to roles, Continue sends the code around your cursor to the model each time it suggests a completion, and each request is charged. Keep useLegacyCompletionsEndpoint: false if you do. Without it, autocomplete requests go to /completions, and Continue shows Continue Autocomplete Error: HTTP 404 Not Found.
What works differently
- You don’t need a Continue account. Continue runs on your local
config.yamlwithout signing in. - Continue only knows the models in
config.yaml. It doesn’t fetch the model list from SinarCloud. To use another model, add another entry undermodelswith its alias, its ownnameand its limits. - Prompt caching settings don’t apply. Continue’s
promptCachingandcacheBehaviorsettings don’t change the requests thatprovider: openaisends, so leave them out.
Troubleshooting
Continue shows errors in a box titled Error handling model response. SinarCloud’s message is under View error output.401 Invalid API key.
401 Invalid API key.
SINARCLOUD_API_KEY in ~/.continue/.env holds your whole key. If the file doesn’t set it, Continue sends the text ${{ secrets.SINARCLOUD_API_KEY }} instead of a key. After you fix the file, open the Command Palette and run Developer: Reload Window. If the key has expired or been revoked, create a new one.Don’t use Check API key in the error box. It opens OpenAI’s website, because the model uses provider: openai.404 The requested inference endpoint is not supported.
404 The requested inference endpoint is not supported.
apiBase in config.yaml is exactly https://ai.sinarcloud.com/v1. Continue adds /chat/completions to it, so don’t add /chat/completions yourself. Then save the file.If you see this error when you use Edit, add useLegacyCompletionsEndpoint: false to the model in config.yaml, then save the file.If apiBase doesn’t end in /v1, the message is 404 The requested endpoint does not exist. instead. The fix is the same.404 The requested model does not exist or is not available for this endpoint.
404 The requested model does not exist or is not available for this endpoint.
model in config.yaml matches it exactly. Then check that the model’s Model capabilities list Chat completions.400 The output-token limit exceeds the model's allowed range.
400 The output-token limit exceeds the model's allowed range.
maxTokens in config.yaml is higher than the model’s Maximum output (tokens), for example after you copied the entry for a model with a lower maximum. Set maxTokens to the model’s maximum or lower, save the file, and send your message again.Continue Autocomplete Error: HTTP 404 Not Found
Continue Autocomplete Error: HTTP 404 Not Found
autocomplete to roles without useLegacyCompletionsEndpoint: false, so autocomplete requests go to /completions, which SinarCloud doesn’t support. Add useLegacyCompletionsEndpoint: false to the model, or remove autocomplete from roles. See Autocomplete.Your balance is empty or negative and no token credits remain for this model.
Your balance is empty or negative and no token credits remain for this model.
provider: openai. It’s about your SinarCloud balance. Add balance, then send your message again.